Hey musers,
We are going to be covering appliers, what they are, how they work and some basic of how to make them. While these posts will hopefully be helpful we can’t support third party work or aid in content creation.
An applier for prim or mesh breasts is an object that is scripted to work with the breasts to put or “apply” a texture to a particular part of the breasts. Different brands will use a different script set ups to make the applier work so not every applier is compatible with every brand of breast. :mused: breasts both full breasts and milkmade will work with the :mused: appliers that you can get in the developer kits for them, both kits are available in the in world shop. For clothing appliers they also support eCorp, Lolas, iboobs, eboobs, and foxbean. For today’s post we will focus on clothing appliers and later we will look at skin appliers.
If you have clothing with appliers that you would like to use what you will need to do is set the appropriate layer visible via the breast menu and then wear or rez the applier. Some makers will have you wear the applier and it will auto apply but if that does not work you can rez the applier and click it. If you have just worn a copy of the breasts then it might take a moment for the scripts to start up before the applier can talk to them and pass the texture to be applied. If you want to use the :mused: Applier Adjustment HUD then you should wear it before using the applier so the applier can pass the texture data to both the breasts and the HUD.
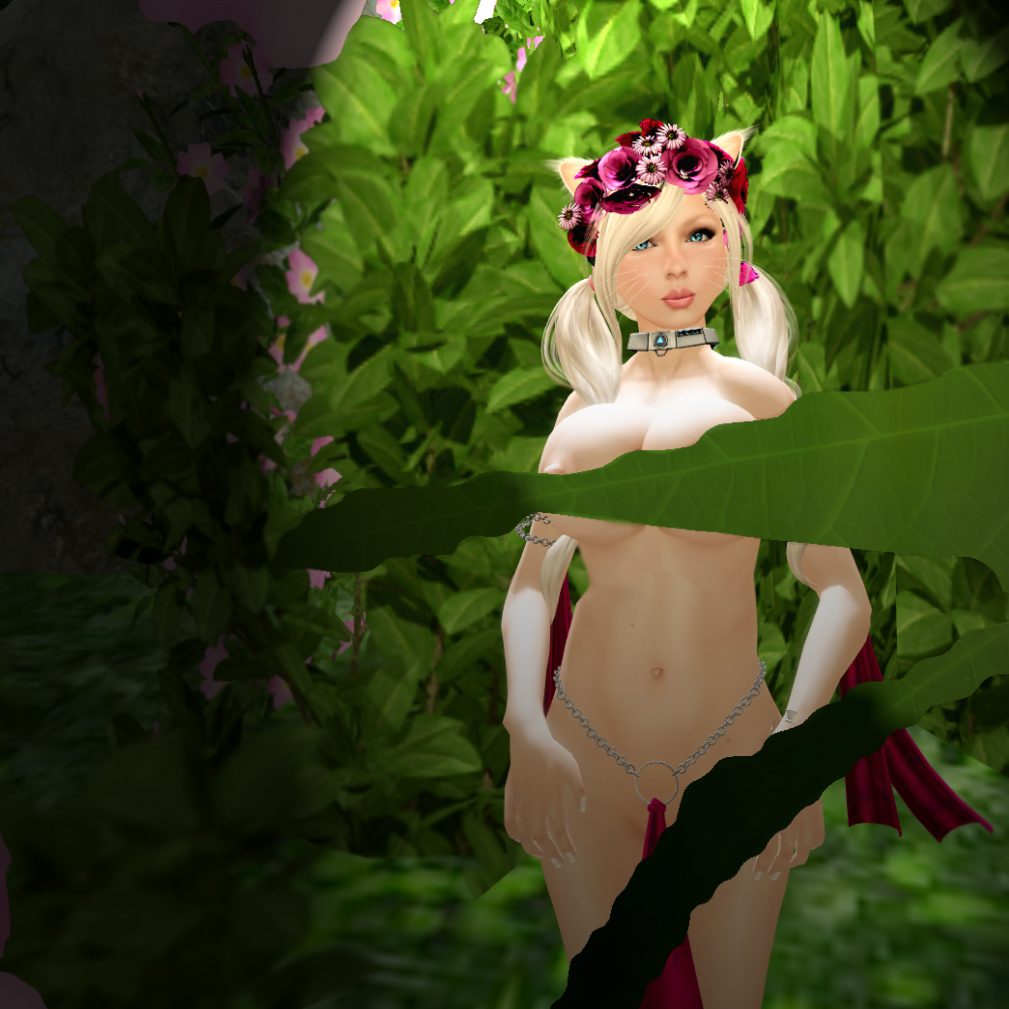
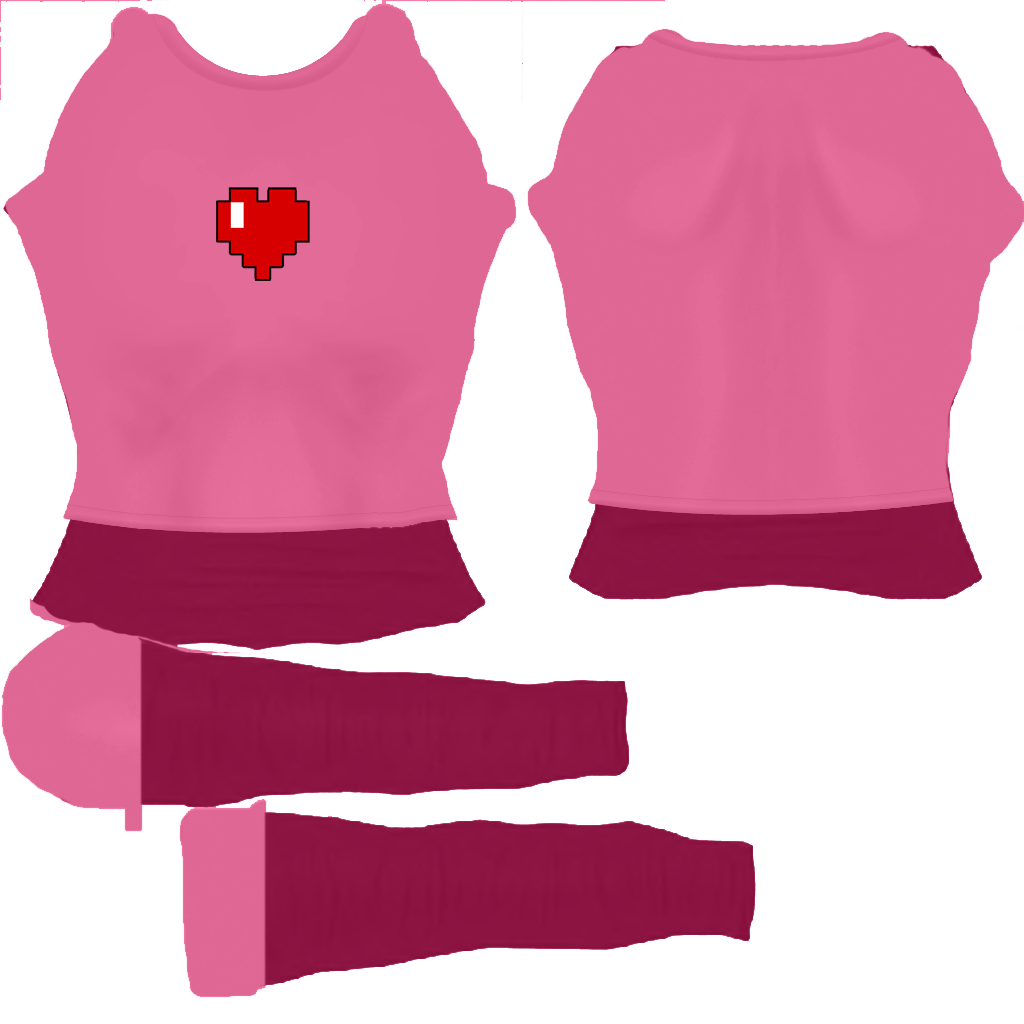
Clothing appliers can use two different types of textures. One is just the area of the clothing that would be covering the breasts, like this:
This gives a much better look as the whole or most of the texture is shown so there is less pixelation or distortion.
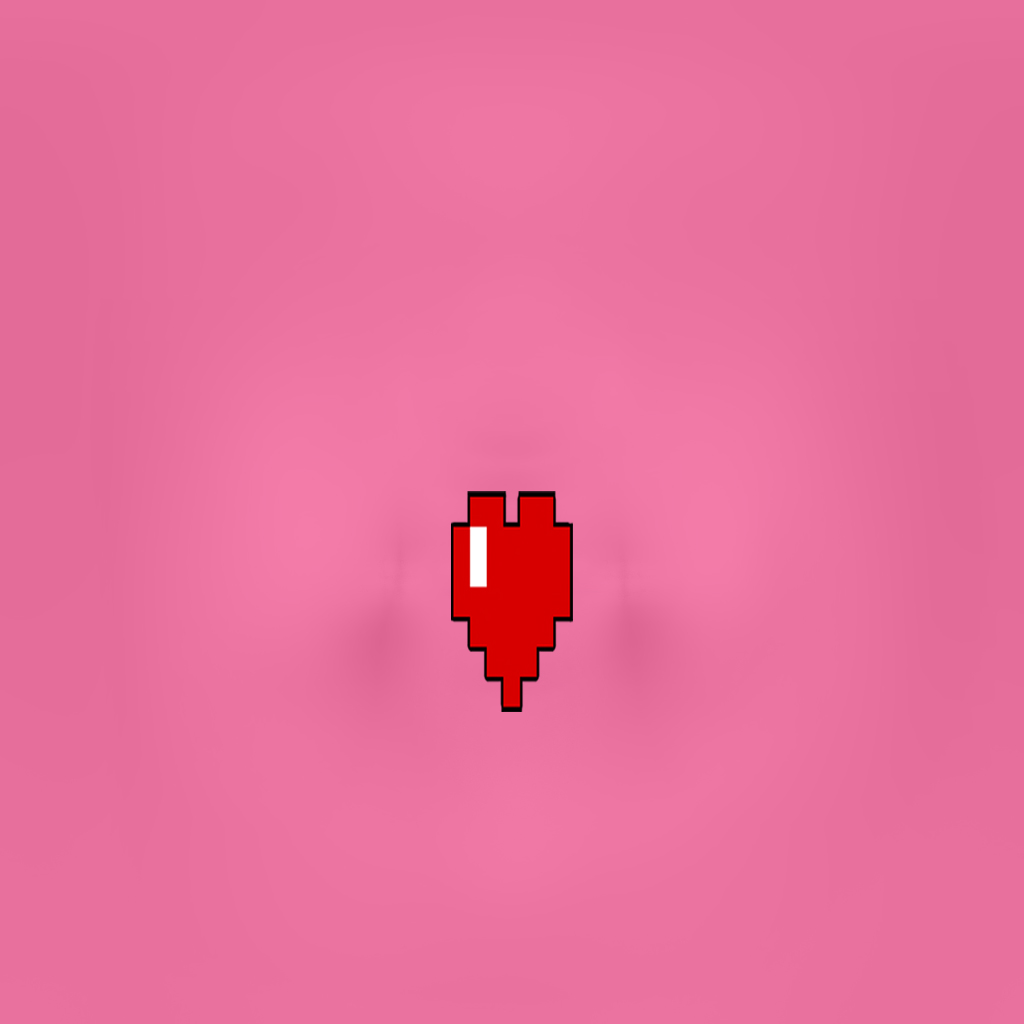
The other way to make an applier texture is to use the base shirt texture, like this:
The benefit to this is that you do not need to make a separate texture for the applier. This however does have the down side of only using a very small portion of the texture and resulting in it looking stretched out, fuzzy or pixelated for some textures and will require more work to set up.
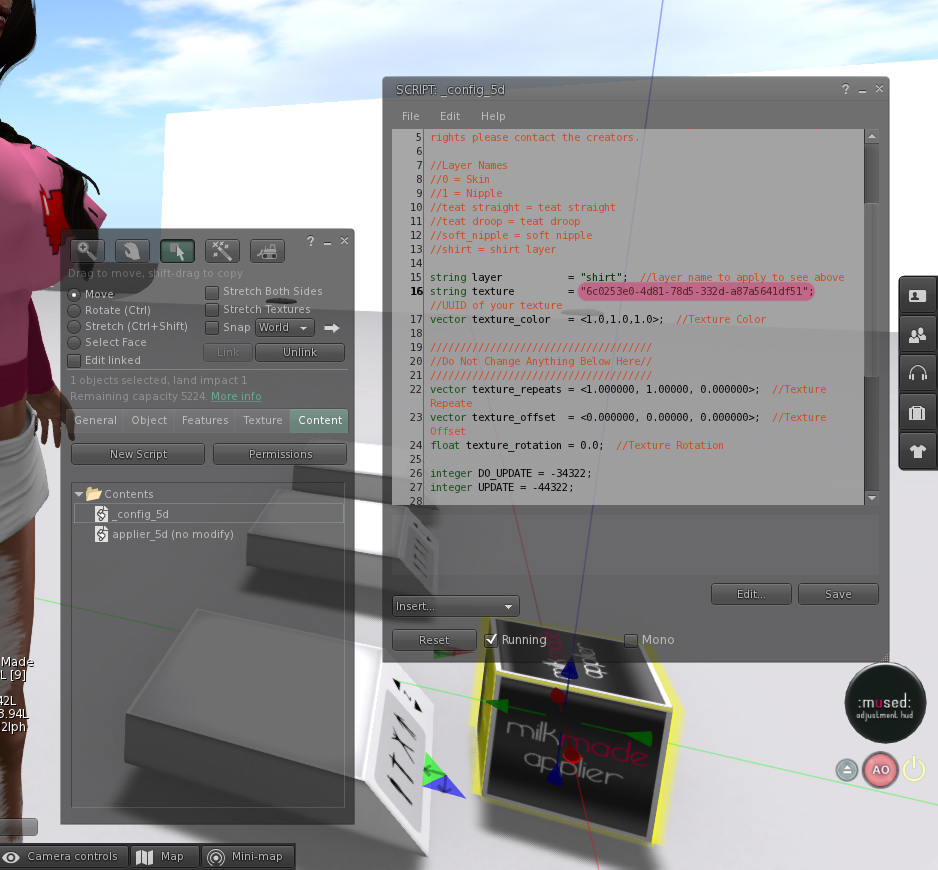
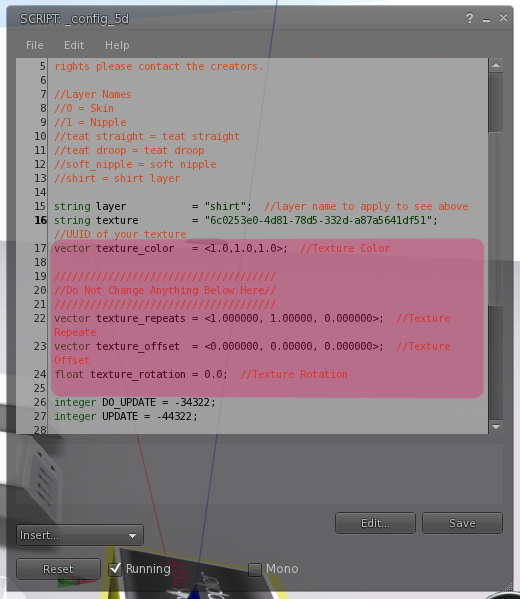
To create an applier with your texture you will need to rez a copy of the applier that you got in the developer kit and open the script inside that is called _config_5d. You will see something that looks like this:

To put your texture into it right click the texture and select “Copy Asset UUID” from the menu. And then paste that UUID into the section of the script that sets the shirt texture it will look something like this “6c0253e0-4d81-78d5-332d-a87a5641df51” and save the script.
If you are using the first type of applier texture that might be all you need to do. If not then you will need to use the applier you have created to apply it to the breasts (and applier adjustment HUD) you can edit the positioning from there with the edit tools directly or with the Applier Adjustment HUD. Once you have gotten the texture positioned the way you want it you will need to take the numbers for color, repeats, offset and rotation. In most cases the color and rotation will be unchanged.
In the edit window you will see Repeats per face Horizontal (U) and Vertical (V) the same for texture offset. These are put into the script as a three number set the third will always be 0.000000 where the first is your horizontal or U and the second is your vertical or V.
If you were using the :mused: Applier Adjustment HUD you can have it “show settings in chat history” and get your numbers from there.
After you have saved the script with the updated positioning for the texture use the applier again to be sure that everything looks right and if not make any changed you need to make in the same way. Once you are satisfied with the placement of the texture change the name of the applier object so you will know what outfit it is for and take it back into your inventory.
If you are using the applier to tint the texture you will need to convert the RGB numbers into RGB vector format this can be done by dividing the RGB number by 255 so that a purple which is 156, 91, 196 would be 0.61, 0.36, 0.77. With white being 1.0, 1.0, 1.0 and black being 0.0, 0.0, 0.0.
Rotation is in radians rather than degrees and so it can’t be taken direct from the edit widow output. I would highly recommend using the Applier Adjustment HUD to get this number. Or you can do a google conversion search of degrees to radians.
In the next part of this series we will discuss skin appliers.
Filed under: Full Breasts, Milk Made, News | Tagged: adjustment hud, Appliers, Full Breasts, milk made, Prim Breasts, tutorial | Comments Off on Appliers part 1 Clothing