This will be part 2 of our coverage of appliers, going over, what they are, how they work and some basic of how to make them. While these posts will hopefully be helpful we can’t support third party work or aid in content creation. You can see the previous post about making clothing appliers here.
An applier for prim or mesh breasts is an object that is scripted to work with the breasts to put or “apply” a texture to a particular part of the breasts. Different brands will use a different script setups to make the applier work so not every applier is compatible with every brand of breast. When it come to skins for prim breasts they are only able to work with skins made specifically for that brand and style. This is not true of all mesh breasts some are inter compatible for skins but for current :mused: breasts only skin appliers made for them will work.
So to start you will need to make a skin texture that will match your skin and wrap correctly on the breast you wish to make it for. To that end we provide textures for you to work from so you know how to shade and wrap your own textures. You can get the skin and nipple textures for full breasts and the developer pack in world in the store next to the full breast vender TP link. The milkmade skin and nipple textures can be downloaded from the website here and the developer pack can be gotten in world above the tank modification kit TP link.
Full Breasts v2
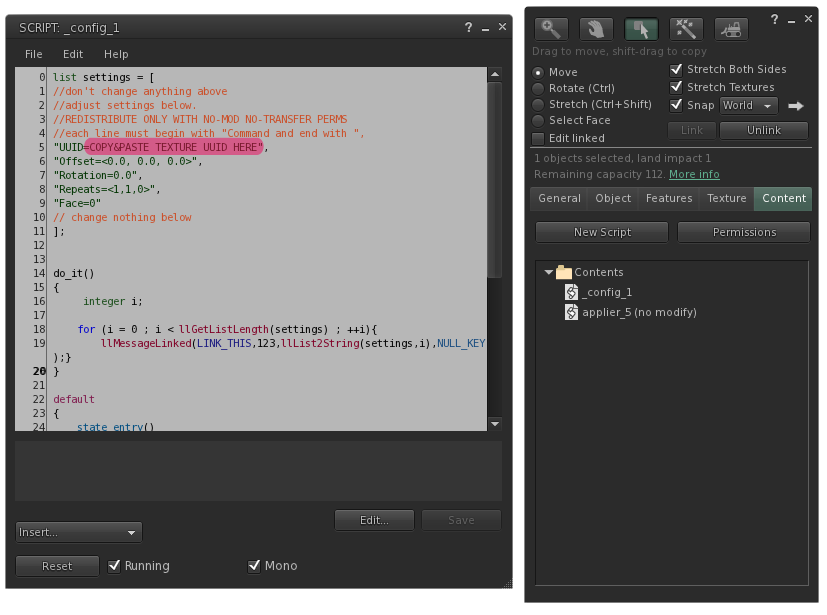
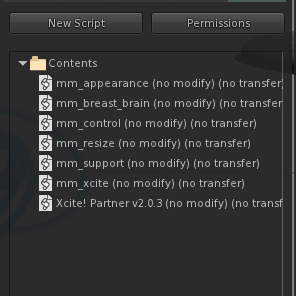
Once you have the texture you wish to use to on the breasts and the developer kit you will need to rez a copy of the applier, edit it and open the _config_1 script. It will look like this, minus the highlighting. (all images can be viewer larger by clicking them)

You will then need to right click the texture you wish to use and select copy asset UUID.
Now simply highlight and delete COPY&PASTE TEXTURE UUID HERE and paste in your UUID. Make sure the = and ” are still there. So it would look something like “UUID=00000000-0000-0000-0000-000000000000”
And save the script. You should now be able to apply the texture to your breast by clicking the applier object.
(in very rare cases, such as not working from the textures we provide, you might need to adjust the offset, or rotation of the texture to make it look right)
milkmade:
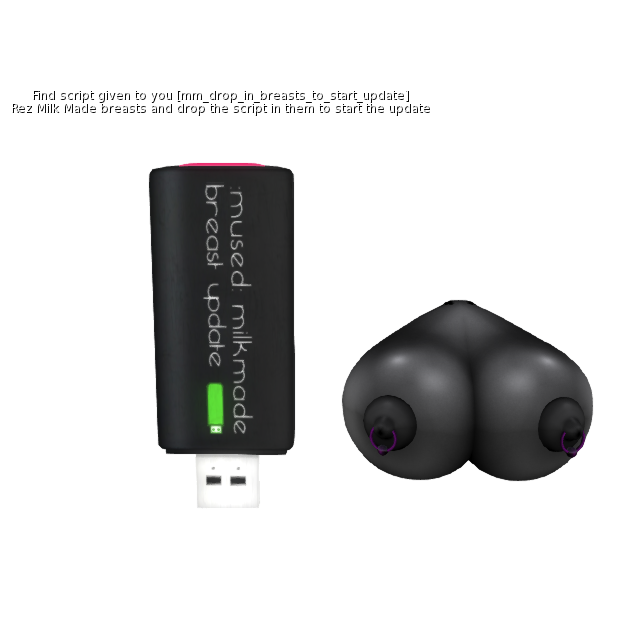
milkmade is a lot like the full breasts but with some slight differences. The first being that the milkmade applier has two configuration scripts to handle two different textures. This is so that your skin does not have to be a mirrored image from one breast to another. Useful for adding a tattoo, or freckles, or spots, or any other variation you might wish to. If you do want to just use one texture for both then there are two ways to do that. You can flip it in your editing software or you can edit the offset in the script which I will explain below. The texture on the website is for the left breast and so we will begin with that one.
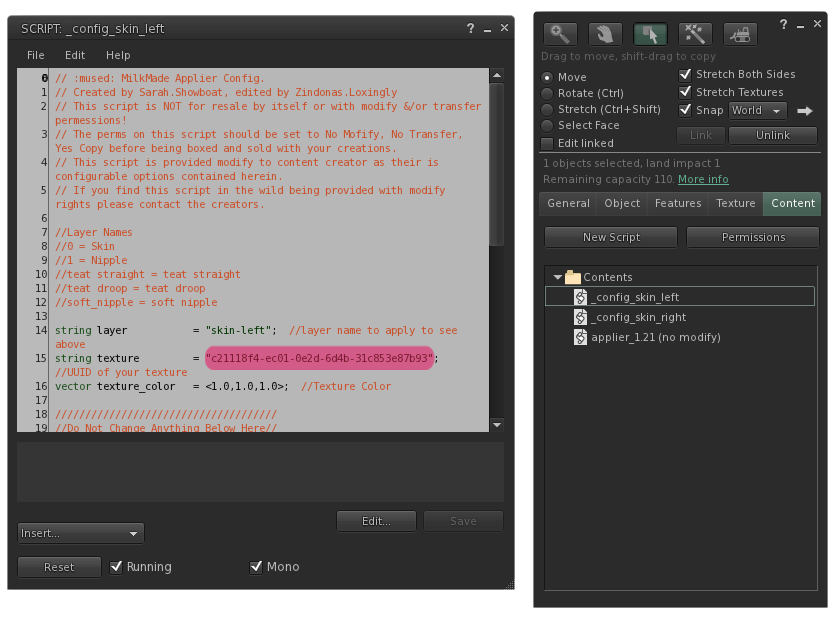
Rez a copy of the applier, edit it and open _congfig_skin_left. It will look like this, again without the highlighting.

You can now copy the UUDI of your left breast texture by right clicking it and selecting copy asset UUID and pasting it between the quotation marks in the area shown on the image. Make sure the quotation marks are still there and save the script.
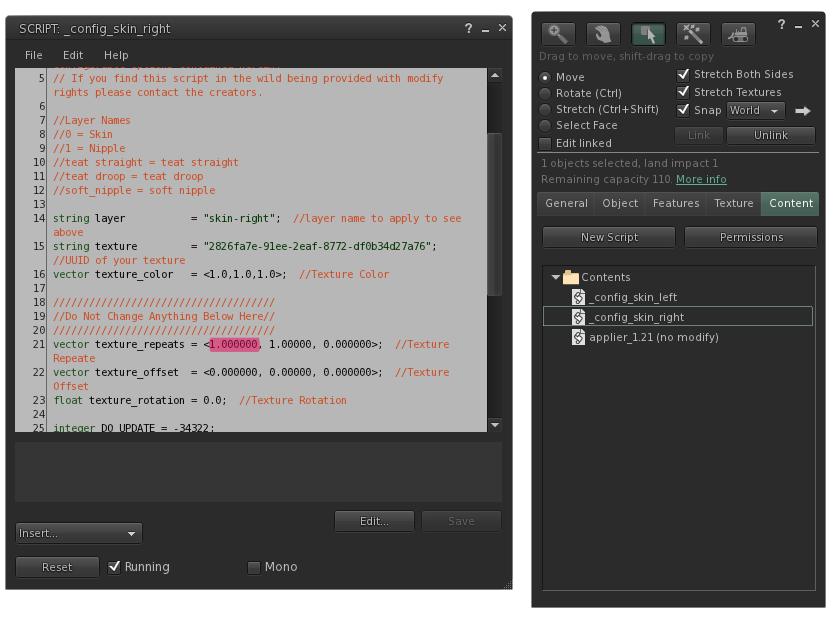
Close it and open _config_skin_right. If you are working with two different textures the setup is exactly the same as the left breast. Copy the right breast texture UUID and paste into place, check that quotation marks are still there and save.
If you are working with one texture you will want to paste the left breast UUID here instead and then go down to the section of the script that says vector texture_repeats = and change that first 1.00000 to a -1.00000. (shown highlighted here)
This will mirror the texture onto the breasts. Make sure the < is still in place right before the negative and save the script. You should now be able to apply the texture to your breast by clicking the applier object.
Remember if you are distributing this applier to set the next owner perms on the scripts to no mod.
Filed under: Full Breasts, Milk Made, News | Tagged: Appliers, Breast, Full Breasts, milk made, tutorial | Comments Off on Appliers part 2 skins


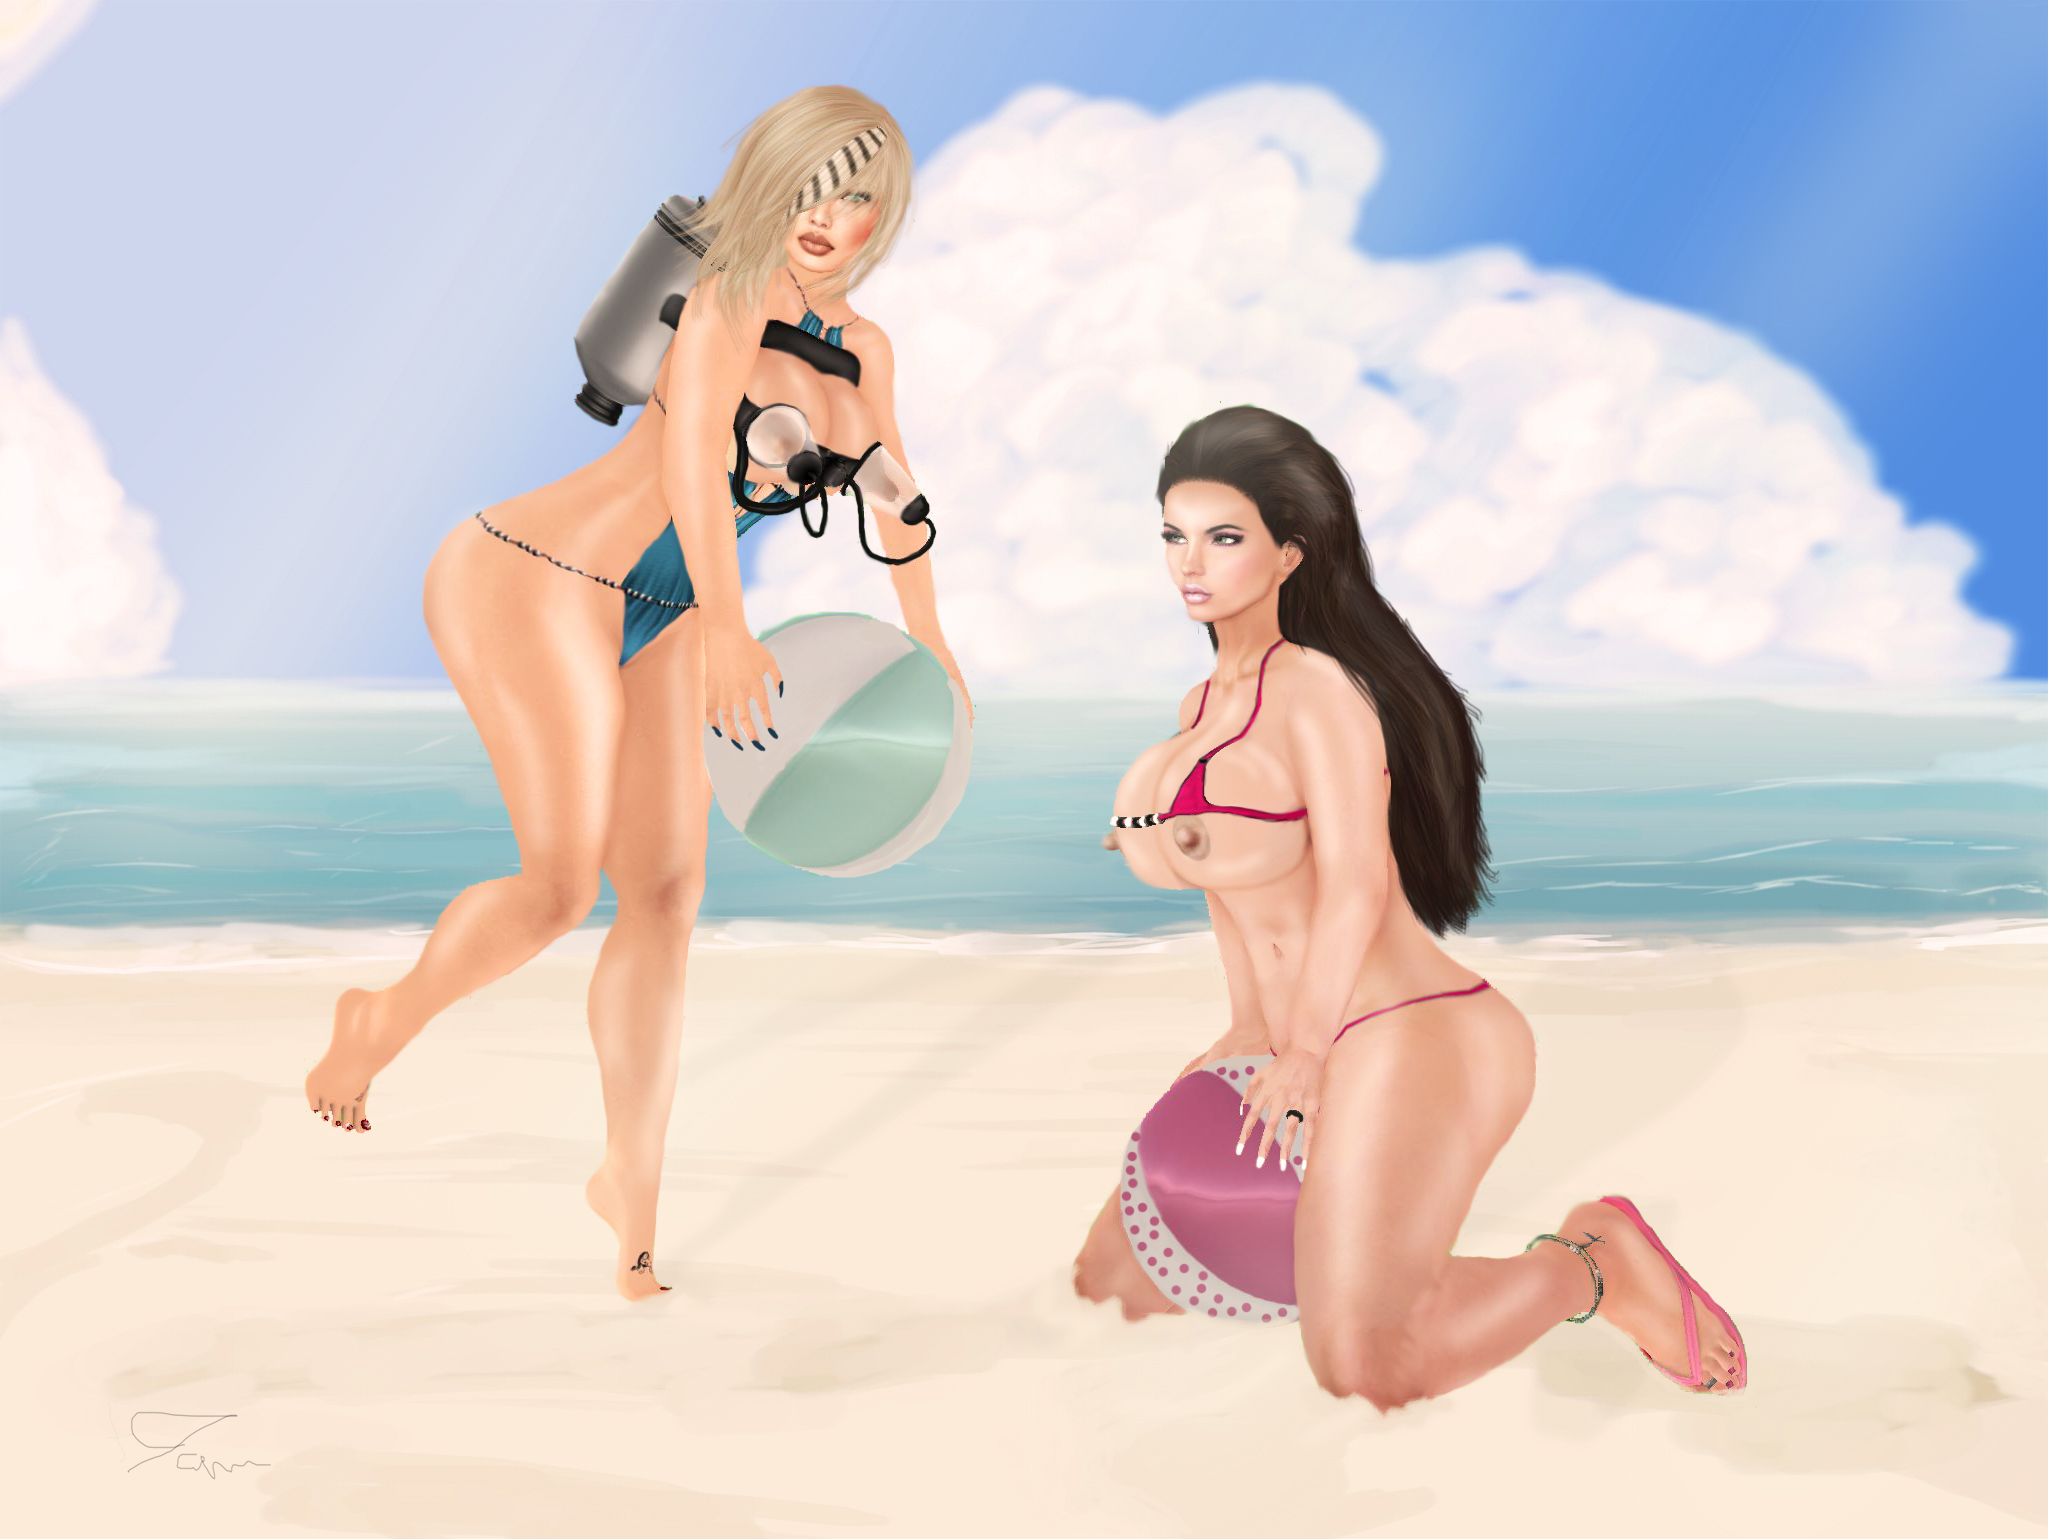
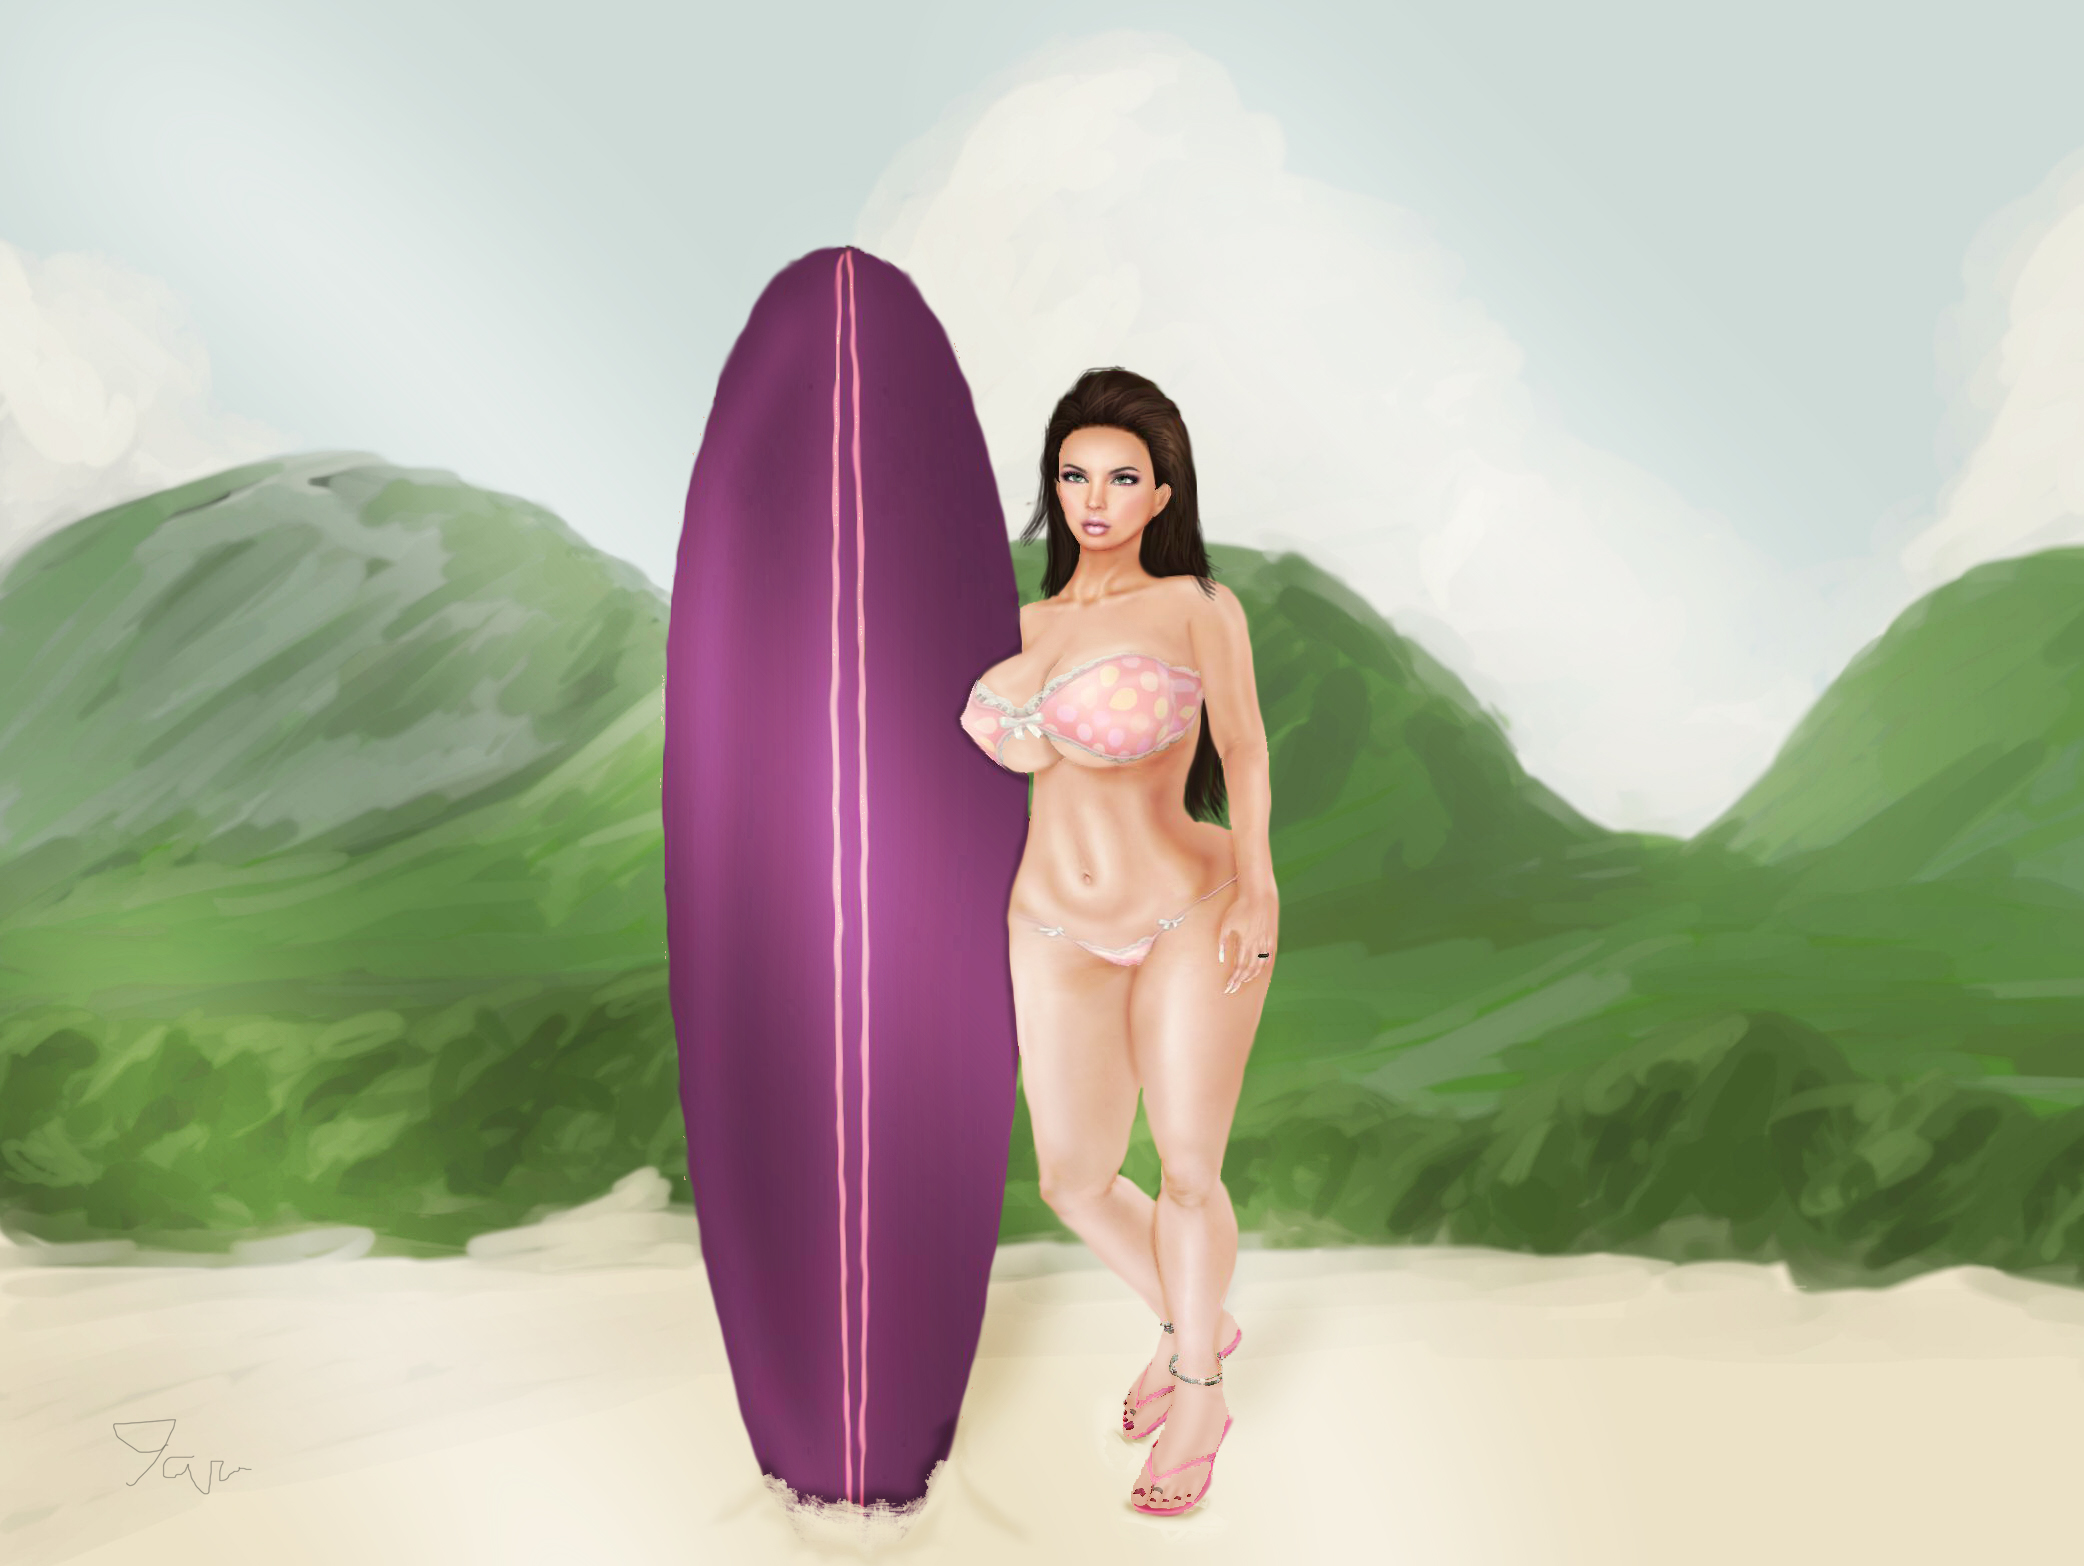 I really did not get any feed back on whether or not the themes were helping and so I am just going to go with it. The theme for august will be “Boobs in Space” with these themes were are looking for creativity and fun. Remember to check out or submission guidelines and to check out Last months pinup luciafavianellia.